Glazed Holiday Cookies
It wouldn't be the holidays without cookies! I really hate making cookies. Or rather I hate the baking part. Mixing the dough is fun, and the first few batches baked are great, but after that when I realize how many more I have to make, cool, and decorate; and that I'll be tending the oven every 10-12 minutes or so, I start to think that I should have just purchased cookies from a local bakery.
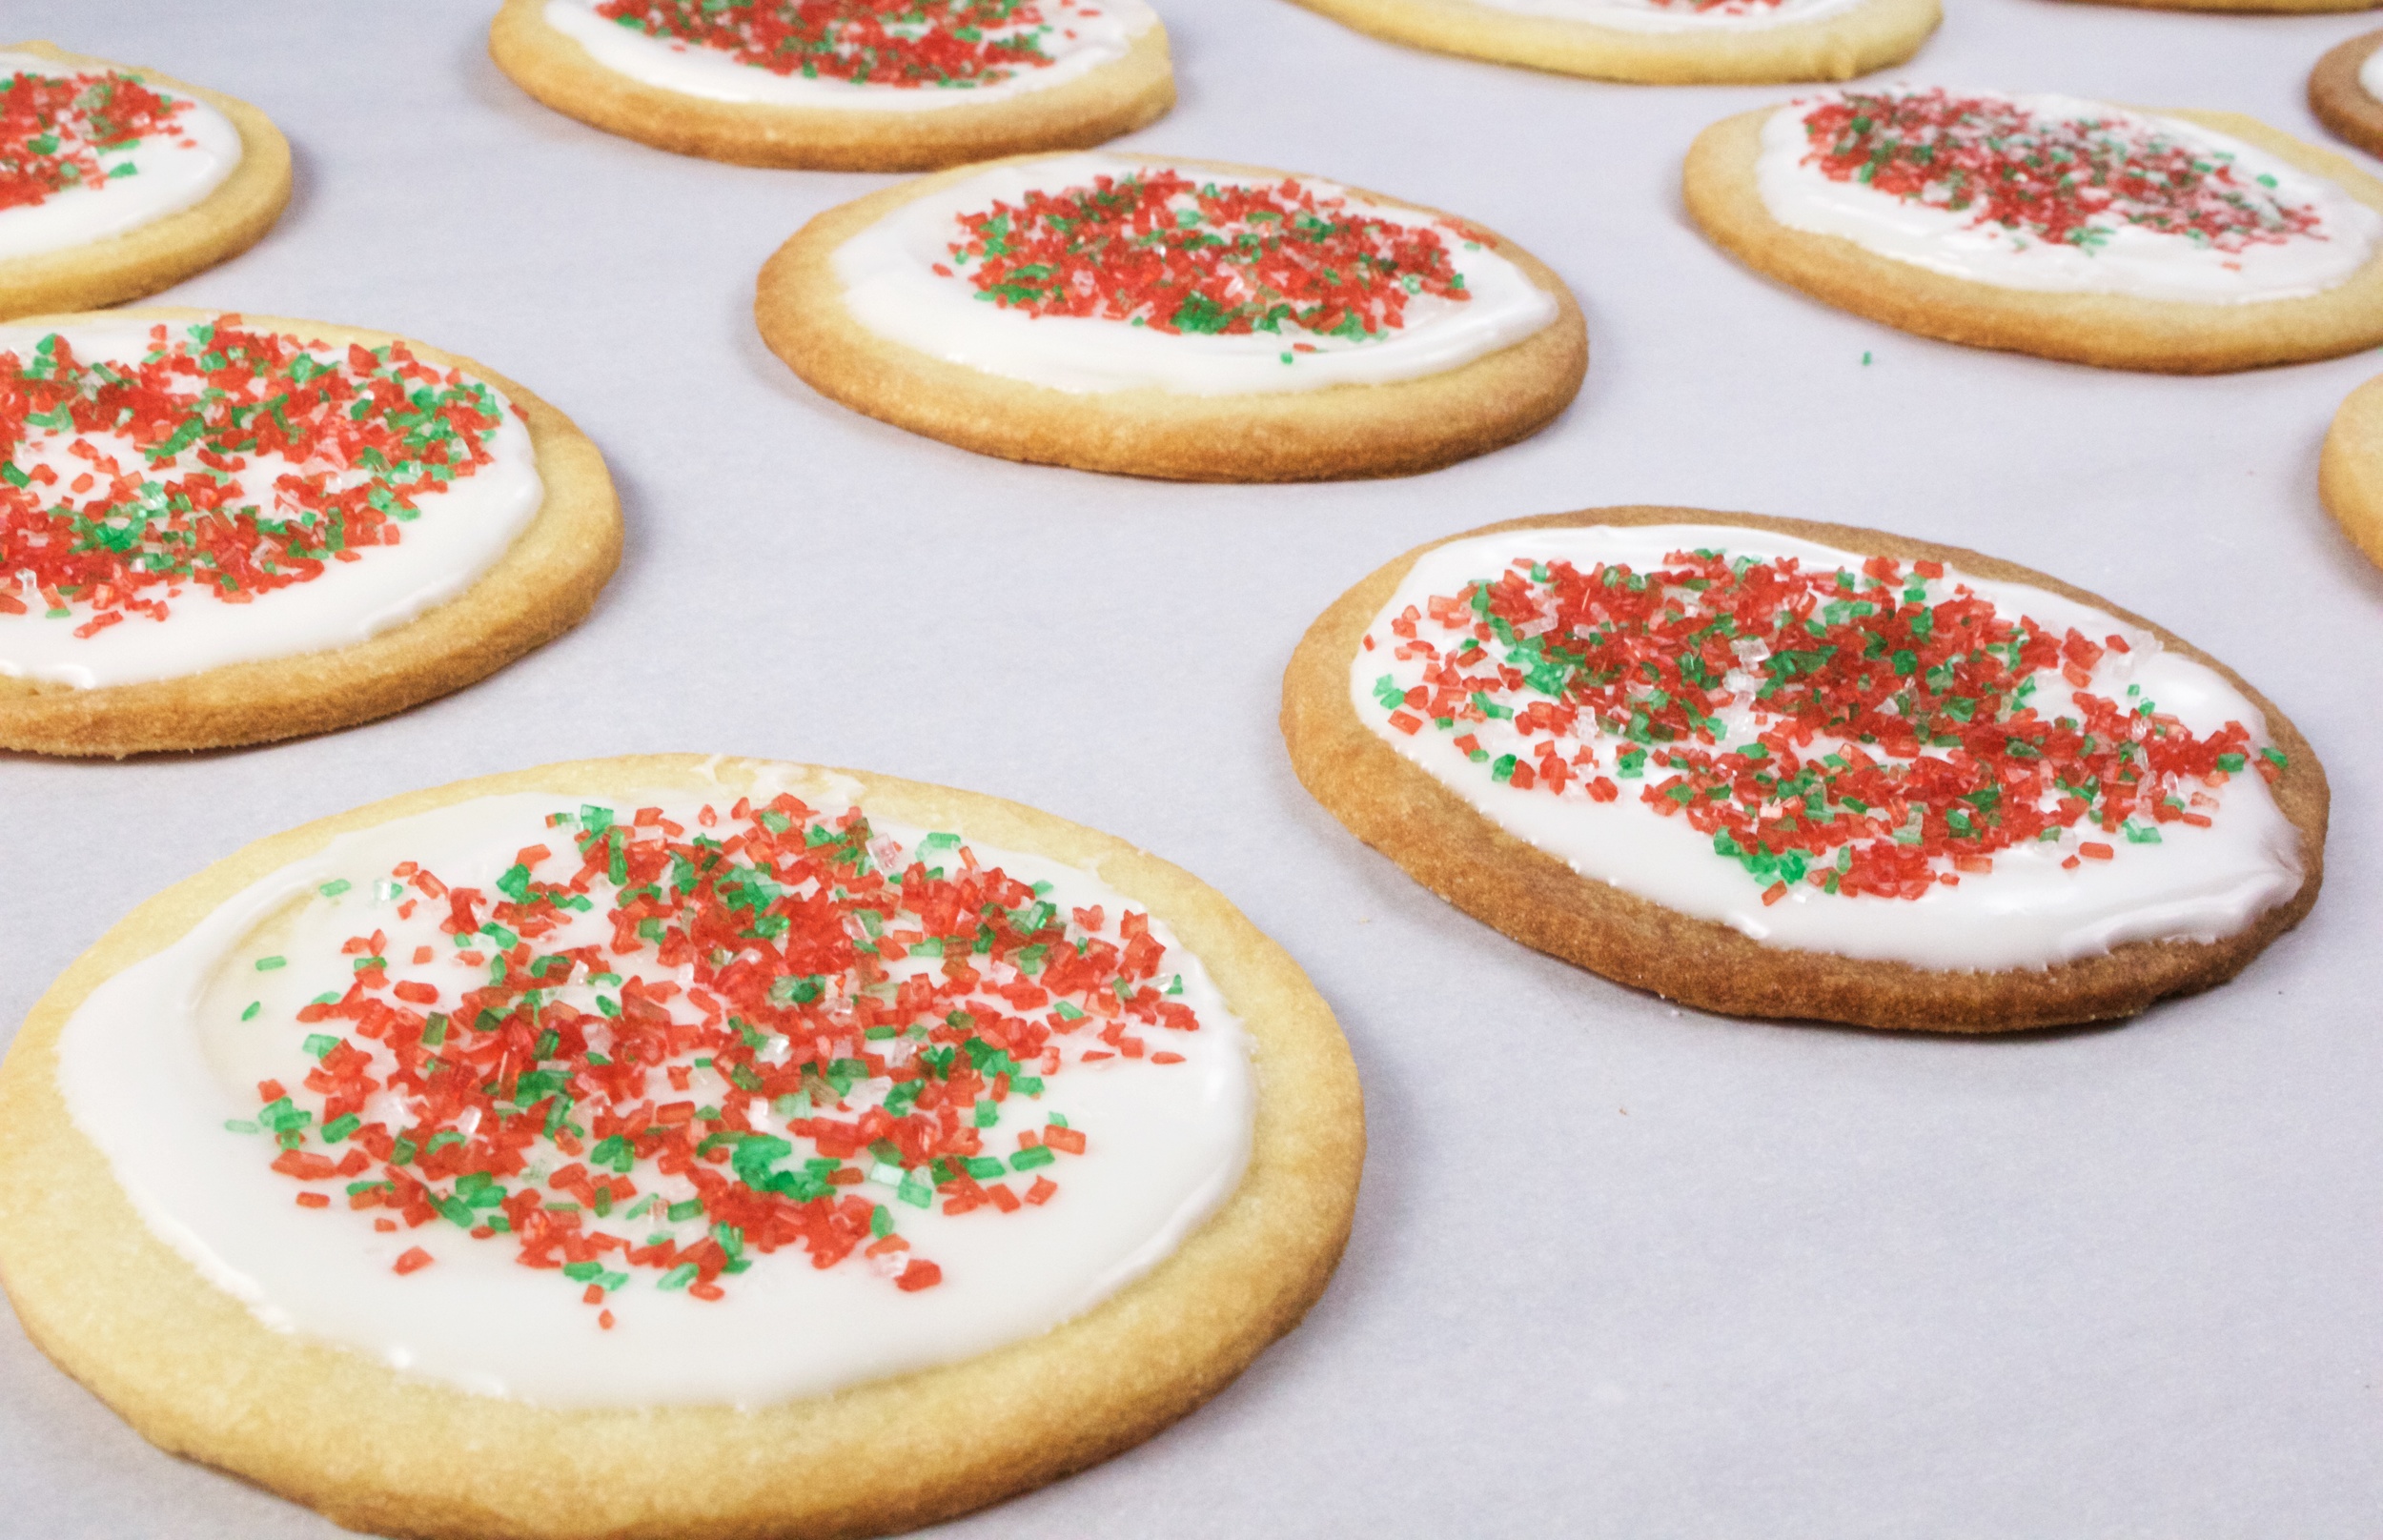
I was really inventive with my cookies...circles! I actually don't have any cookie cutters in any other shapes and because I make them so infrequently I really didn't want a drawer full of holiday shapes. This dough is pretty delicate, but with a bit of extra refrigeration I think it would work well for even a complicated snowflake cookie cutter. But circles are the easiest and if you have festive sprinkles they still read "holiday".
In a stand mixer, cream together butter and sugar. I'm following an America's Test Kitchen recipe for these cookies, and they recommend superfine sugar. I have admittedly only used superfine sugar to make mixed drinks but it really works well for baking. The butter and sugar creamed incredibly smooth, and really fast. I credit the sugar.
Mix together dry ingredients and add to the creamed butter and sugar, at bit at a time until the dough is crumbly. Add vanilla extract and room temperature cream cheese. I have this awesome Mexican vanilla extract that I received as a gift from a friend. It's like vanilla extract on steroids. I'm not sure what is done differently, but it's so much more fragrant and really imparts a strong vanilla flavor.
When the dough forms a ball in the mixer, turn it out onto parchment paper or a floured countertop. Divide into two disks and refrigerate about 20-30 minutes.
Preheat oven to 375 degrees. Working with one disk at a time, roll the dough out to 1/4 of an inch on some floured parchment paper and cut out shapes. If you have simple shapes like mine, you can probably move the cookies to a parchment paper lined baking sheet right away. A more complicated shape like a snowflake might need some time in the refrigerator before you can move the shapes without tearing them. Once you have your cookies on a baking sheet, bake each batch for about 11 minutes or until just starting to brown on the edges. Cool a few minutes on the baking sheet before moving to a wire rack. For a more complicated shape, refrigerate cookies on a baking sheet for a few minutes before baking to minimize spread. These have a lot of butter in them and might spread if the dough is too warm right away. With circles, I was not very concerned about any spread that might occur.
When cookies are cooled completely, make the glaze. Combine powdered sugar with milk and room temperature cream cheese. Whisk together until very smooth, adding more milk if necessary. Spread a tablespoon or so of the glaze on each cookie and top with desired decorations. Alternatively, you can use a bit of food coloring in the glaze. I'd recommend the Wilton food colorings as they are more of a paste and won't change the consistency of the glaze as much as a liquid food coloring might.
Allow glaze to harden before sharing with friends and family! Happy Holidays!
Recipe
Glazed Holiday Cookies
By Land of Noms, December 22, 2014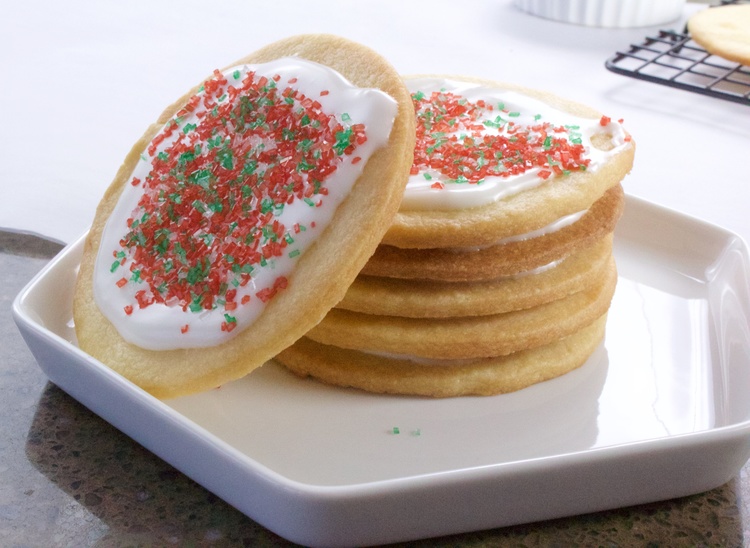 Adapted from America's Test Kitchen; these cookies are perfectly buttery and fun to decorate!
cookies, holiday, baking
Adapted from America's Test Kitchen; these cookies are perfectly buttery and fun to decorate!
cookies, holiday, baking
Ingredients
- 2 1/2 cups of all purpose flour
- 3/4 cups of superfine baking sugar
- 1/4 teaspoon of salt
- 1 cup (2 sticks) of unsalted butter, room temperature
- 2 teaspoons of vanilla extract
- 3 tablespoons of cream cheese, divided, at room temperature
- 3 tablespoons of milk
- 1 1/2 cups of powdered sugar
Directions
- In a stand mixer, or with a hand mixer, cream together butter and sugar
- In a large bowl, combine flour and salt, add to creamed sugar 1/3 at a time until dough is crumbly
- Add vanilla extract and 2 tablespoons of cream cheese, mix until a ball of dough forms
- Turn dough out onto floured parchment paper and divide into two portions, wrap in plastic wrap and refrigerate 20-30 minutes
- Preheat oven to 375
- Working with one portion of dough at at time, roll chilled dough out to 1/4 inch thick on floured parchment paper
- Cut shapes and move to a parchment lined baking sheet, refrigerate rolled dough if shapes are difficult to move without tearing; dough scraps can be re-rolled as needed
- Bake each batch of cookies 10-12 minutes or until browned around the edges, cool on baking sheet for a few minutes before moving to a wire rack to cool completely
- When cookies are cooled, combine powdered sugar, milk, and remaining tablespoon of cream cheese in a small bowl
- Whisk until smooth and spread 1 tablespoon of glaze on each cookie; top with desired decorations
- Allow glaze to harden before storing cookies in an air tight container
Sharing our culinary adventures in Cascadia with simple, sustainable & satisfying eats. Bon Appétit!